Select Page
Earl Sweatshirt x The Alchemist in the Arena

Earl Sweatshirt x The Alchemist in the Arena


Spider Tanks has teamed up with Gala Music to bring sweet tracks and unbridled destruction together at last.

Researchers throughout the Earthen Cluster are always eager to find more windows into our prehistoric past. For generations, everyone in the Planetary Union has gazed at the sky and wondered about our origins on the mysterious Earth.

A recent cache of analogue records has revealed more insights into the culture of our ancient shared past than ever before, and we’re bringing that excitement to the Spider Tanks arena!

The recent discovery includes recordings from long lost great poets and composers of the 21st century — Earl Sweatshirt and the Alchemist!

TranslationBot375.aÞv12 is still decoding the cultural nuance of these ancient verses, but anthropologists believe that Mr. Sweatshirt and Mr. Alchemist’s recordings were beyond simple music, as song and poetry often carried culture and oral traditions to the far corners of the planet in the Terraclassical Era.

Gala Music — the biggest authority on audiographical entertainment in the solar system — released a limited run of an all new album by the great Earl Sweatshirt and The Alchemist on August 25th! This previously unreleased treasure is called VOIR DIRE, and for a limited time only, owners can also receive a shiny new Tank in their garage!

Earl Sweatshirt x The Alchemist Tank Combo Deal Details

That’s right Pilots, we’ve teamed up with Gala Music to bring you some sweet synergy between your tunes and your Tanks!

Last Friday our friends at Gala Music dropped the new Earl Sweatshirt x The Alchemist album, VOIR DIRE. Three weeks after the sale (September 15th), we’ll take a snapshot of all purchasers of this album. Note that this reward is for those who purchased the album from the Gala Music Store only.

  • Buyers of three tracks will receive a random Common Tank
  • Buyers of five tracks will receive a random Rare Tank
  • Buyers of all eleven tracks will receive a random Epic Tank

Random Tanks from this reward can consist of any of the following parts:

Weapons:

  • Sniper Rifle
  • Fire Artillery
  • Carver
  • Bouncer Gun
  • Rail Gun
  • Repair Gun

Bodies:

  • Tracks
  • Fletcher
  • Mantis
  • Maul
  • Crab
  • Plate

Remember, the tracks will have to be held in the wallet connected to your Gala Account at the snapshot!

About Earl Sweatshirt

Earl Sweatshirt is the byproduct of L.A.’s fertile ground where hip-hop sowed its seeds. The prodigiously gifted writer, lyricist, and producer grew from a zeitgeist on which contemporary collectives in hip-hop today are predicated. And while most movements are fleeting, Earl pushed forward and cemented himself as one of the foremost culturally relevant MCs in the game.

About The Alchemist

The Alchemist, a prolific record producer and musical visionary, has carved an indelible mark in the realm of hip-hop and beyond. His distinctive beats have graced tracks for Eminem, Kendrick Lamar, Earl Sweatshirt, and Freddie Gibbs. Continuously evolving, The Alchemist remains an influential force in modern music, proving that his sonic alchemy transcends eras.

Turn Up the Bass and Let the Destruction Begin

Don’t forget that the Arachnid August leaderboard is still ongoing… there’s matches to be won!

Don’t miss out. This latest Earl Sweatshirt x The Alchemist album dropped last Friday on Gala Music and there are still some available at https://music.gala.com, but once they’re gone you can still find them on sale from other fans at The Official Gala Music OpenSea Collection.

Arachnid August: The Arena Challenge

Arachnid August: The Arena Challenge


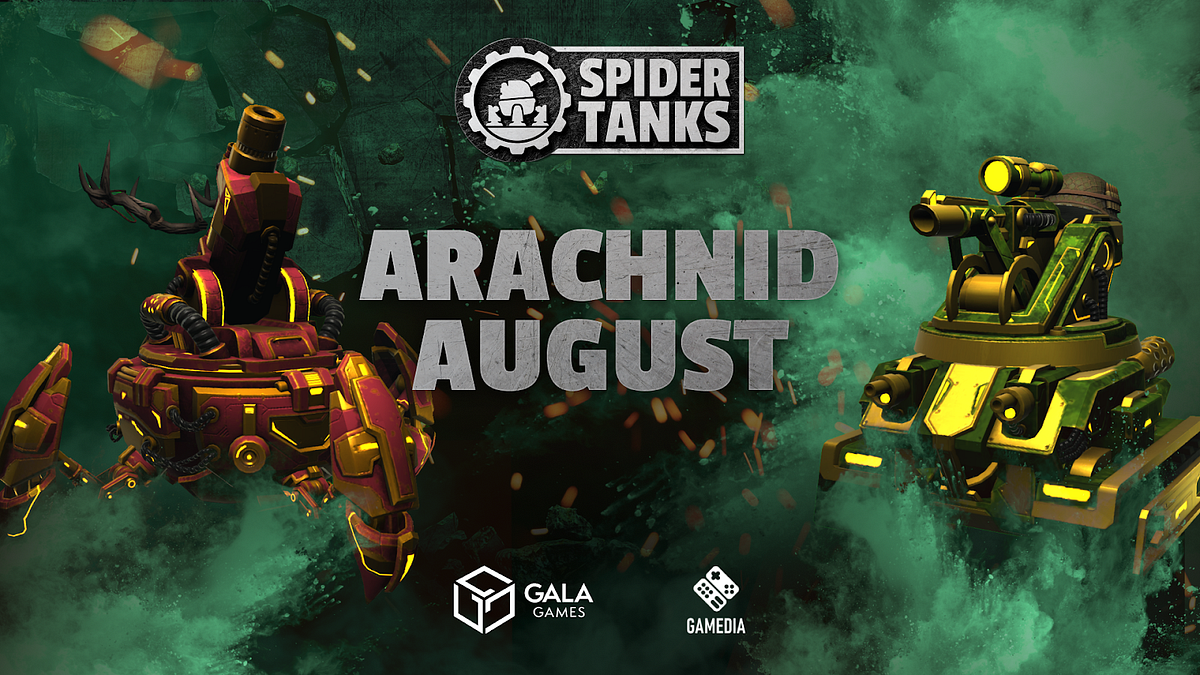
Get ready for an explosive end to August, with a multi-week challenge and Honor boost event!

Greetings Pilots! For the safety of yourself and others, please disarm your warheads and hold your ordinance until the presentation has concluded.

Today we’ve gathered the greatest Pilots from across the Earthen Cluster to announce a test to determine who among you are true arena veterans. This challenge will push the limits of your durability, adaptability and cunning.

For those that prove they are in the upper echelon of Pilotdom, however, great rewards and Honor await!

Arachnid August — Event Overview

This event will run for two weeks, beginning on Monday, August 21st and ending on Sunday, September 4th. During this time, players can rack up wins to climb the reward tiers for increasing component supply drops and a shot at random Tank Part prizes.

For those that survived May Mayhem a few months back, the rewards for these tiers will look very familiar.

That’s not all though! Any wins during the event will qualify you for +1 bonus Honor, up to a maximum of +200!

Honor will be awarded for all wins at the end of the event. Go ahead and soak it up Pilots, you deserve it…but hurry! You only have two weeks for this bonus.

Tiered Challenge Details

This event will span two weeks, with the first featuring The Stag and the second featuring The Soldier. As player’s climb reward tiers, they will rack up more guaranteed component supply rewards, as well as get their name in drawings for Tank Parts!

Rewards are cumulative in both categories. This means that someone who achieves Gold Tier rewards in week one will receive 30 Arachnium and 3000 Bolts — the rewards from Bronze + Silver + Gold.

For giveaways at each tier, the winning names selected for that tier will receive the Part specific to that tier, as well as all parts from lower tiers. This means a winner in the Diamond Tier giveaway will receive Prop, Body and Weapon.

If you qualify for a giveaway tier but do not win, your name will automatically be entered into the reward drawing for the tier directly underneath for another chance.

Week 1

Week 1 runs seven consecutive days, starting and ending on Monday at 9am PT. Since this is slightly offset from the weekly leaderboard, you can double check your progress on the NFTGuilds leaderboard for this event, which will be shared on Discord before start time on Monday. Make sure and give a special thanks to them for all their support!

Week 2

Week 2 will again run seven consecutive days, with no breather in between it and the first one. Just as before, tiered supply rewards and giveaway parts are cumulative.

All rewards will be delivered after the conclusion of each individual week.

Battle with Honor

While there are many Honorable players in the arena, increasing Honor can be a long effort for many Pilots. From the start of this event all the way to the end, players can gain an extra +1 Honor per win up to a maximum of 200.

For many Pilots, we hope this will be a great help. Raising Honor level is often a slow crawl with a slight increase once per day. During this event, players will be able to cover a lot of ground in a short while… provided they have what it takes to win.

You can mix and match battles with whatever parts you’d like, the Honor you’ll receive at the end of the event will keep ticking up regardless… up to a maximum of 200.

Lock and Load

We appreciate your attention to this important announcement, and your cooperation to avoid any accidental incinerations during the presentation. You may now rearm your Weapons and prepare to engage.

This event only lasts two weeks. Can you rack up enough wins? Will you climb to the top tier?

No… don’t answer that. Starting on Monday at 9am PT, you can prove it!

Spider Tanks Showcase: Poultry Pusher

Spider Tanks Showcase: Poultry Pusher


Protect The Payload! It’s time to dive into the strategy behind an often misunderstood game mode.

After far too long of a wait, we’re happy to finally welcome you back to your Spider Tanks Showcase!

Today we’re not here just to talk about another Tank Part. We really, really like Tanks… but this time we’ll be digging into something far bigger than just one way to build your Tank.

Today we’re talking about Poultry Pusher. This game mode is less straightforward than Team Deathmatch or Capture the Flag. Pilots can easily underestimate the nuance of strategy involved, and teams often live or die on their ability to cooperate effectively.

Poultry Pusher TLDR

In Poultry Pusher, players protect and escort The Payload– a gigantic chicken of mass destruction. Once your Payload arrives at the opponents’ side, the detonation sequence begins and the match is won.

-The Payload moves when friendly Tanks are within its radius. Two Tanks make it go faster.

-When an enemy Tank is within The Payload’s radius, it will not progress forward.

-When The Payload has not had an allied Tank within its radius for an extended period, it will begin to move backwards except during overtime.

-An allied tank within range for even a moment will stop backwards progression, even if an enemy Tank is also within the radius.

-During overtime, both Payloads move forward without players in their radius

Harassing and Pushing

The typical strategy in Poultry Pusher involves two Tanks defending and pushing The Payload while one Tank attacks and harasses opponents’ off their Payload.

Some teams may opt to have two Tanks harassing while one holds down the chicken. Typically this is a tactic employed later in the match to recover from a deficit, but teams that are outranged or made up entirely of small Bodies may opt to be more aggressive throughout the entire match.

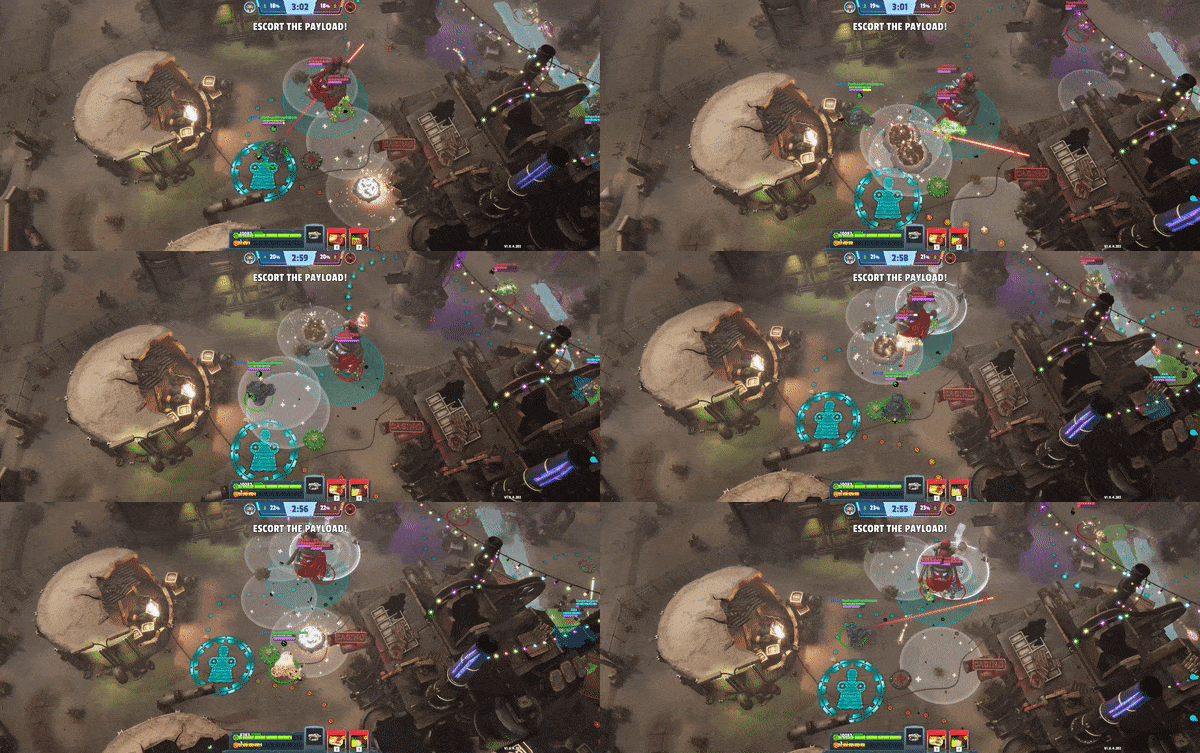
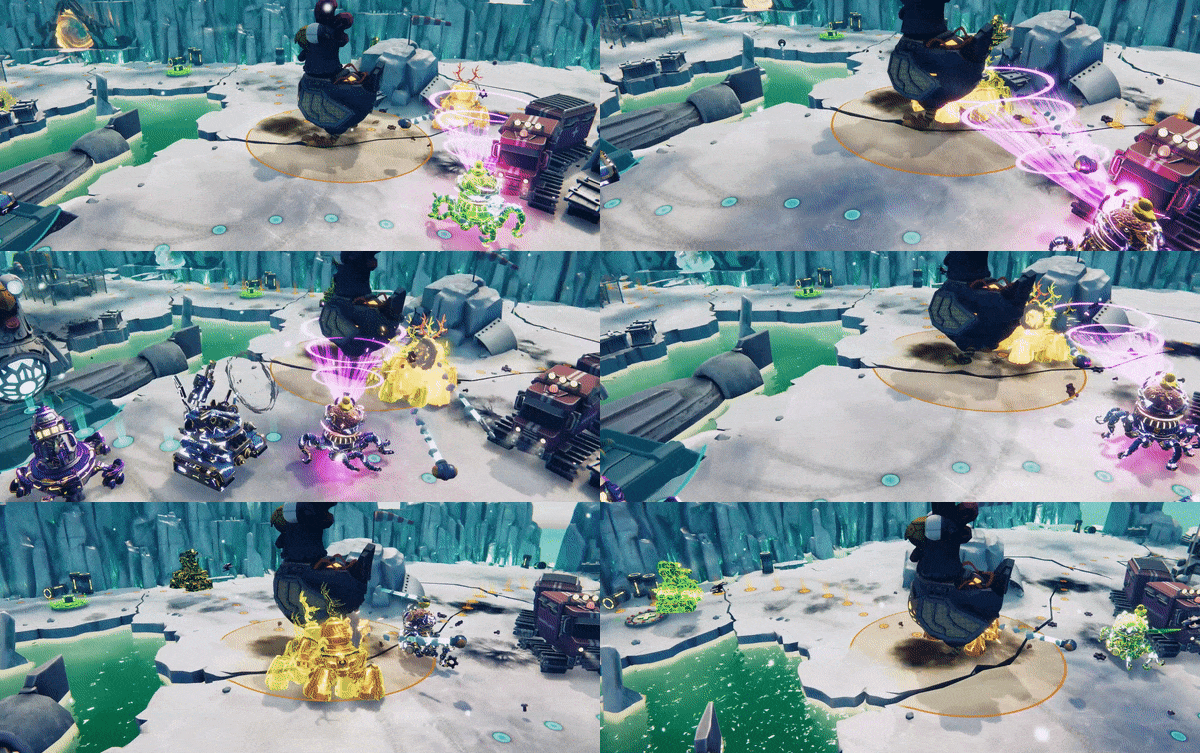
All the damage in the world from this one Crossbow isn’t going to move these defenders. More drastic action is needed.

Whichever way you go, Poultry Pusher is nearly always two unbalanced matchups on opposite sides of the arena. Whether you wind up 2v1, 3v2, or 3v1, the odds are very rarely even in battles that occur in frays within PP.

Due to this, the decision of which player harasses and who stays with the chicken should very much consider the makeup of the other team. If their entire team is limited in range, sending a fast Tank with a long range Weapon could make for an easy win. If their team is full of bulky Titans and repairing, sending someone with Shield Drone and a Weapon capable of some close range chaos may make more sense. There are tons of ways to make a plan… but it usually pays to have a plan.

In most Maps, Payloads moving at similar speeds will cross near each other halfway through their route, which can cause utter chaos and change the game dramatically. Go ahead and plan for plans to quickly change at these moments.

On Death Canyon, the Payloads’ routes come dangerously close to each other twice. This typically results in a focus on the middle area, and games can change dramatically in these moments.

The object isn’t always to kill the opponents. If two enemies are attacking you while you’re alone on The Payload, that usually means two Tanks aren’t pushing their Payload forward. If you can survive their onslaught, the rest of your team is probably 2v1 on the other side.

You just need to outlast. Likewise while harassing, if you can consistently make opponents leave the Payload’s radius, that’s just as good as them in pieces.

This poor Titan is caught in all kinds of crossfire and not having much luck against the enemies. Scarred chassis and all, however, The Payload keeps moving forward.

Artillery Weapons can be particularly effective, especially the JACKED O’ Lantern’s Brambler or the Fire Artillery since they leave a damaging zone behind that can cause people to flee The Payload’s radius.

Beware Weapons like Crossbow or Tortoise’s Blade Spinner, as they have massive range and can penetrate Tanks to take out a whole team at once if the person firing them knows what they’re doing.

Advanced Pushing

There’s tons of strategy involved in Poultry Pusher, and as you learn more you only realize that there are many different ways to turn the battle in your favor.

-Not All Maps Are Equal-

When forming a strategy, think about the route The Payload will take on a particular Map.

On a Map like Arctic Research, for instance, sending out your longest range Tank to attack may not be the best move. Since the Payloads march towards each other in no man’s land at the center of this Map, a long range Tank could easily push and harass at the same time.

On Safe Haven, the Payloads directly cross paths! Needless to say, chaos usually ensues.

-Abilities Are Your Friend-

You may only get two Abilities, but choosing the right ones for Poultry Pusher can mean the difference between victory and defeat.

A Shield Drone will protect you from all damage, but you’ll still push your Payload or block the progress of the enemy Payload. While harassing, this means you could have three seconds of interruption in the enemy chicken’s progress at any time. If you’re a high Energy Tank, you could easily get two shields back to back with some clever dodging in between.

On a Map like Steaming Stronghold, Repair Zone is almost a nescessity while pushing The Payload.

Other Abilities can be extremely useful as well, such as Repulsor Zone. This costs one more Energy than Shield Drone, but gives you six seconds where the enemy can’t get to The Payload if you place it correctly.

A well timed Reactive Plating can be a game changer on either offense or defense, but get it wrong and you lose eight seconds in respawn time while the enemy pushes ahead.

-No Plan Survives Contact with the Enemy-

Just as true now as when 21st century race car driver Moltke the Elder said it. Flexibility is key to Poultry Pusher.

If your plans aren’t working, switch them up. While this may be more difficult with random teammates in the solo queue, it’s not impossible.

Your team also wants to win, and if you shift to attack instead of push when it makes sense, they’ll usually pick up your signals and follow your lead. A friendly message in chat takes seconds, and could save you a match worth of hardship.

Try not to be contrary when someone else takes the lead either. Always better to do a thing than argue and not do a thing. 3.5 minutes is too short to argue and still come out on top.

Push Onwards!

That’ll be it for us this week. Hopefully this has given both new and veteran Pilots alike some insight into fresh strategy for Poultry Pusher to help get that Payload over the finish line.

There’s lots of ways to be awesome at Poultry Pusher though. Let us know in the comments if we missed anything big!

Next time we’ll be back with a spotlight on Frozen Research. Tweet your favorite strategies to us @Spider_Tanks for a chance to be featured in the article!

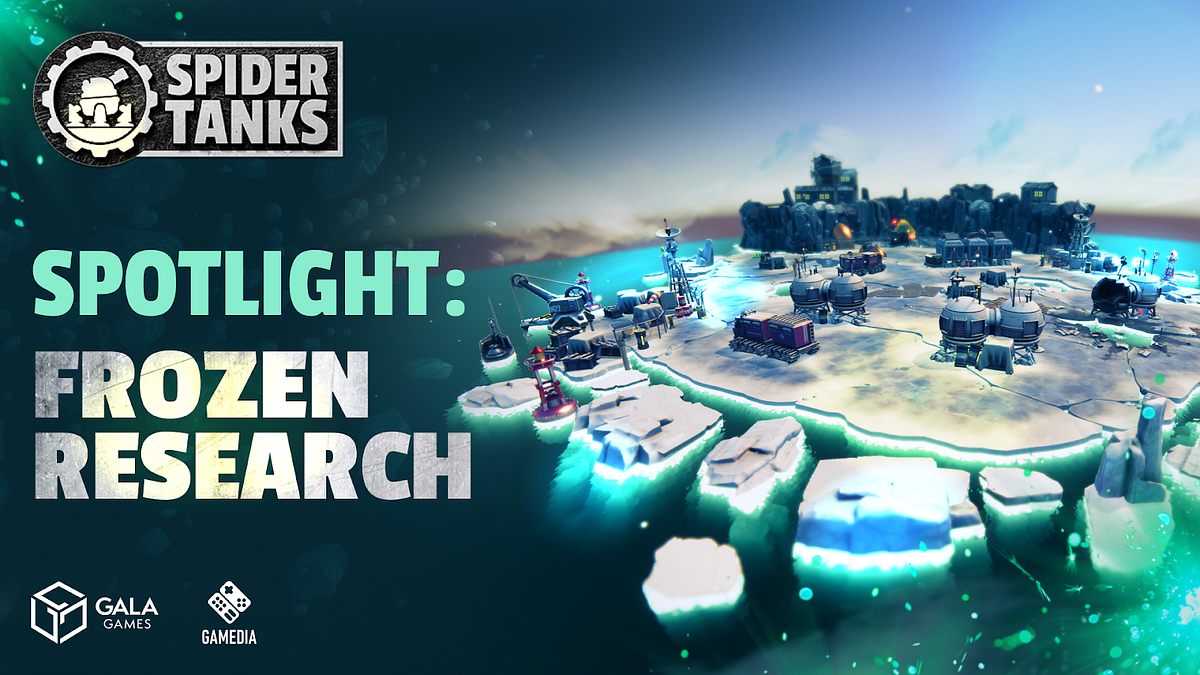
Spider Tanks Showcase: Frozen Research

Spider Tanks Showcase: Frozen Research


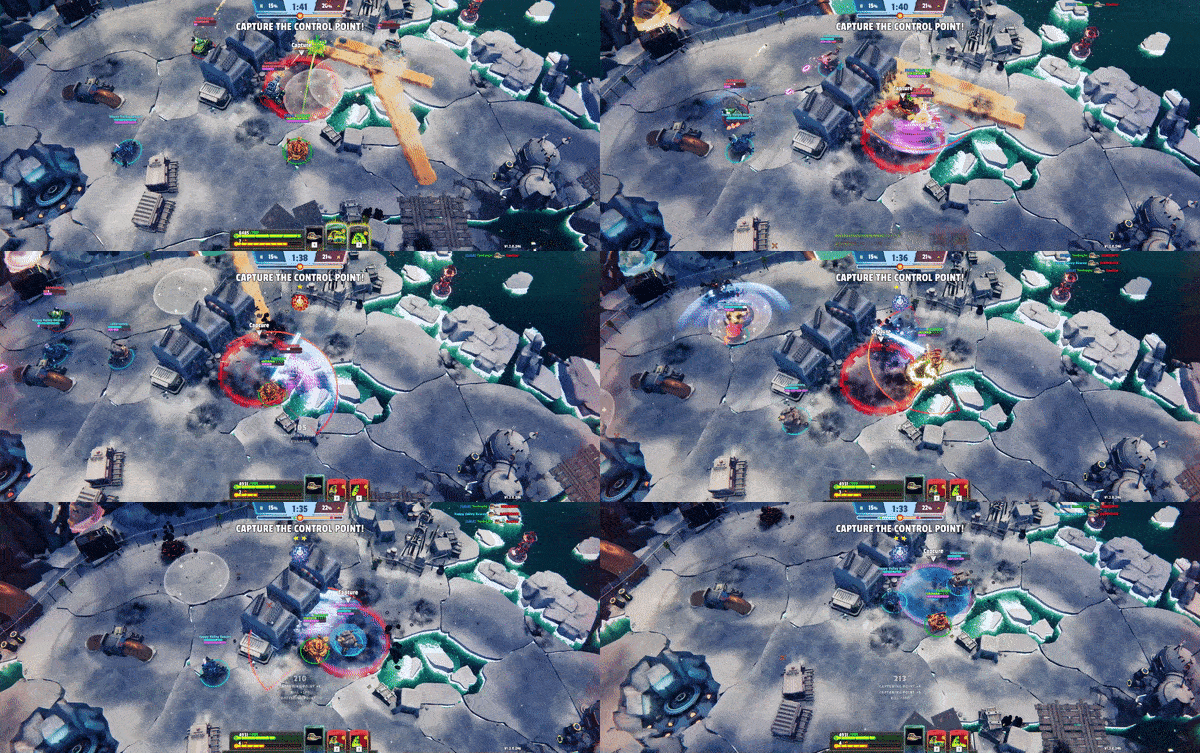
The wind blows cold across this arena… and there’s not many places to hide from the destruction.

On the icy cold planet of Chione the silence of the wasteland in the endless tundra is pierced only by the chaos from the Frozen Research arena. Here the barren landscape doesn’t yield much more than salvage and core samples… the perfect place for unbridled destruction.

The Frozen Research arena was once a bustling salvage and academic site, built on the ruins of an ancient alien city. With the rich technology long plundered, adapted and retrofitted to serve the Chionites themselves, what’s left to be done with this place other than brutal Tank Battles?

Plus, should the scientists of Chion find a way soon to harvest scrap from matches efficiently to repurpose as components… all the more reason to bring yet another Spider Tanks arena to Chione.

Know Your Battlefield

Frozen Research has several key features that distinguish it from other Maps and may require you to adjust your typical strategy. The map is more or less a large, open wasteland. There are four groups of obstructions which are mostly oriented at cardinal directions. Only two Repair Kits exist on the Map– one in the west corner and one in the east corner.

Area 1: No Man’s Land

All bullets converge here. Tread lightly and watch your back.

Area 2: Relative Safety

The eastern obstruction offers the most overall protection, with cover arcing around the Repair Kit so that there are only two angles of approach when an enemy is bunkered in.

Area 3: Room to Breathe

The north side’s obstruction is slightly below the very top corner and has a non-cover obstruction and a cover obstruction on either side. This provides good relative cover, but still leaves at least 180° of visibility for enemies to approach. This is where the Control Point will be in King of the Hill.

Defending the north side is very doable, but it’ll require team coordination. Divide, and be conquered.

Up here you have room to maneuver. If you are good on the dodge, this can be a defensible position.

Area 4: The Killbox

The corner to the west offers the least relative protection, with a non-cover obstruction boxing it in that can be easily shot through. High range or fast fire teams may do well seeking shelter here, but you should usually consider it a last resort… where you go to die.

You absolutely cannot watch all the angles in the killbox. If they have better range than you, run away.

Area 5: Bob and Weave

The southern obstruction is more spread out and offers a serpentine to adjust cover. While it is easy to find cover in this corner, it is not usually easy to bunker down here. There are too many possible ways that an enemy may approach, but it can be great temporary shelter to regroup and heal up… or trap the enemy in a close quarters skirmish.

Frozen Research Best Practices

Beware the Cold Wind

The central no-man’s land of Frozen Research is very treacherous to be caught unaware in.

With nearly nothing to stop long-range projectiles, this is the kind of environment built for the Crossbow, Railgun or Blade Spinner to stalk their prey. Keep moving while in the open on this Map.


Stay Mobile

Try not to get bunkered in too long in any of the corners.

With no actual bottlenecks anywhere in the Map, opponents can always move at you from at least two directions. If you’re putting up a good fight, they’ll have to spend some time positioning to take you from one side.

Move to their weak side when the time is right and use the circular path of the Map to your advantage as you move to the next cover.


Be Cautious in CTF

On Capture the Flag, there is nothing between you and the enemy when the match starts other than the flag.

All hell is about to break loose when the match starts. Go slow, be careful, be the one standing to scoop up the flag.


Don’t Trust Shoddy Cover

Much of the cover in the middle of the map is lying to you. They block your Tank, but projectiles will whizz right over them.

The crates on the southwest side are commonly mistaken for proper cover by Pilots. A smart gunner will hit you when you think you’re safe. If you need cover, hide behind the defunct snowbulance just past the crates, but be careful — flames can come through it.

Even what you think is safety in No Man’s Land really isn’t. See that hole between those trailers? Yeah… that seems big enough for some fire to fit through.

Expect Chicken-Related Trouble

The barrels in Chicken Chaser are right across from each other on Frozen Research.

Controlling barrels to keep delivering is even more essential on this Map, but is unlikely to ever be 100% successful due to their proximity. Bulky Tanks like Titan or the faster moving Nomad can easily slap you high damage, close up Weapons to destabilize control over both barrels.

If you’re across from artillery, Shotguns or Flamethrowers… you may want to prepare for a rough match.


Stay Chill

Frozen Research can be overwhelmingly chaotic at first for Pilots due to the central vortex of death and the limited cover on the exterior of the Map. Once you understand the arena, however, it’s easy to use these features to aid in your eventual victory.

That’ll be all for us this week, but we’ll return next week with an up close and personal look at the Shotgun Weapon.

Let us know your favorite ways to play Shotgun @SpiderTanks for a chance to be featured in the next edition!

The Soldier Reporting for Duty

The Soldier Reporting for Duty


A deadly foe waits in cover. Do you have the steady hand to be the next great sniper?

Greetings Pilots! Today we have the great honor of introducing a new tank into the arena. Usually, we’re here to tell you about a new rookie model, straight off the production line. Not today… this Tank may be new, but it is a stone-cold veteran through and through.

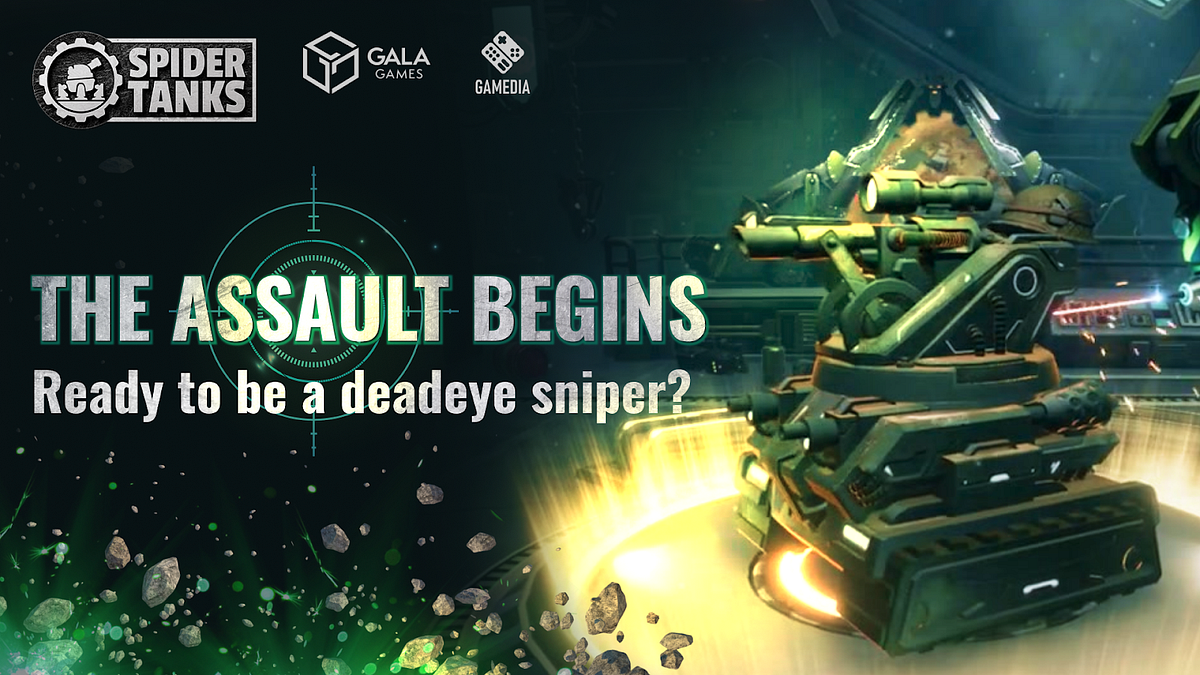
Today we welcome The Soldier to the arena. This Tank features the Sniper Rifle Weapon atop the heavy metal intimidation of the Tracks Body. Slap a helmet on top to keep that processor protected, and you’ve got a professional killer on your hands.

Even with absolute chaos around, this sniper is able to find his mark.

Sale Details

Unlike our recent Generation 2 Tank sales, the supply for these items will come out in one single wave next Tuesday.

These parts will hit the Spider Tanks Store on Tuesday, August 15th at 12pm PT.

As has been the case since the beginning of Generation 2, these Tank Parts will enter the store with a discount applied. As always, this discount may be modified or removed at any time, so don’t wait too long to recruit your Soldier!

The Sniper Rifle

The Sniper Rifle is a deadly Weapon from humanity’s brutal past. While warfare is a distant historical curiosity to us in these more civilized times, for most of humankind’s history we developed more and more fiendish ways to kill each other. Those days are gone, but we can celebrate humanity’s heritage of destruction in the arena!

Pew

The Sniper Rifle is based on an ancient Weapon of brilliant craftsmanship. We know from the historical records that the first of these weapons was likely developed by Assyrian nomads in the 7th century BCE, shortly after the discovery of gunpowder. While this model doesn’t use anything as archaic as gunpowder, you’ll still get that classic feel of an authentic rifle.

The Sniper Rifle isn’t for a Pilot with shaky hands. This Weapon requires extreme precision, but those who master its simple ballistics will find they can deliver death quickly from across the arena.

This sniper has swapped out Tracks for more mobility, but still is just as deadly!

With high projectile speed and long distance, a well aimed sniper bullet can exploit even the smallest openings in enemy defenses. It doesn’t reload fast, but make your shots count and it won’t need to.

Tracks

This is not a play Tank. This is the real deal.

Tough to find a weakness on this solid chunk of metal!

The entire idea of “Tanks” was first spawned in the early 17th century. During a colonial border conflict, the Empire of Japan created massive, rocket-powered mechanical suits to defeat the Republic of Russia in an unprecedented act of naval destruction.

Years later, this design would be perfected into large, vehicular personnel carriers on great tracks by engineers from the United States of Canada. These were both a weapon of war and the commuter vehicle of choice up until the outbreak of the First Surface War.

Like Nomad or Santa’s Slay, Tracks is not an omnidirectional Body. This means that it can only move forward and will turn its nose forward any time its momentum changes direction. Functionally, the biggest difference this causes for most Pilots is that Tracks can’t stop instantly just from cutting off propulsion. It will continue to crawl slightly in the direction of your movement.

This means that Tracks excels when it can continue moving, and will often benefit from sweeping motions like figure eights and loops, compared to other Tanks that can dodge by just strafing back and forth.

Notably, Tracks is MASSIVE. While it doesn’t boast the Armor of Titan, it certainly packs more Speed than that behemoth. It also will now hold the title of highest Energy Body among Tanks currently available in the arena. Even the high-Energy Nomad can’t compete with how fast Tracks can power up Abilities.

Soldier’s Helmet

A good soldier knows… protect your head!

Warning: Attached lighter is for display only, and misuse may result in plasma burns or death.

Whether you’re shielding a central processing unit or a fleshy meat brain, what better way to make sure that nothing can splatter your thinking bits than with a thick hunk of carbon nanofiber composite!?

The Soldier’s Helmet gives you protection where you need it most, and can add quite a bit of durability for just a fantastically fashionable hat!

Ready… Aim…

Get fired up about The Soldier, because they’ll be infiltrating the arena next week! Will you take up the fight, or just be the Tank on the wrong end of the scope?

This won’t be the last new Tank to enter the arena. We’ll see you before too terribly long with a preview of the next model… as soon as we can solve a small spontaneous implosion issue in testing.

Until we’re back, stay hidden from those snipers. We wish you straight shooting and good fortune in the battles to come!