The wind blows cold across this arena… and there’s not many places to hide from the destruction.
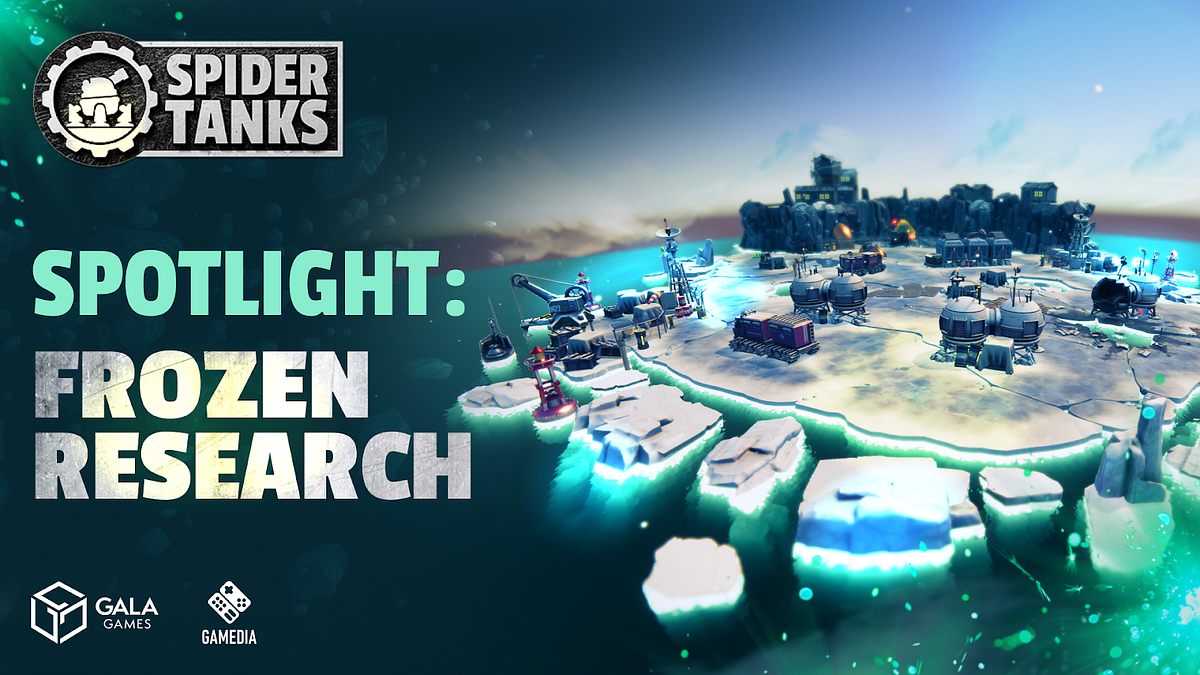
On the icy cold planet of Chione the silence of the wasteland in the endless tundra is pierced only by the chaos from the Frozen Research arena. Here the barren landscape doesn’t yield much more than salvage and core samples… the perfect place for unbridled destruction.

The Frozen Research arena was once a bustling salvage and academic site, built on the ruins of an ancient alien city. With the rich technology long plundered, adapted and retrofitted to serve the Chionites themselves, what’s left to be done with this place other than brutal Tank Battles?
Plus, should the scientists of Chion find a way soon to harvest scrap from matches efficiently to repurpose as components… all the more reason to bring yet another Spider Tanks arena to Chione.
Know Your Battlefield
Frozen Research has several key features that distinguish it from other Maps and may require you to adjust your typical strategy. The map is more or less a large, open wasteland. There are four groups of obstructions which are mostly oriented at cardinal directions. Only two Repair Kits exist on the Map– one in the west corner and one in the east corner.
Area 1: No Man’s Land
All bullets converge here. Tread lightly and watch your back.
Area 2: Relative Safety
The eastern obstruction offers the most overall protection, with cover arcing around the Repair Kit so that there are only two angles of approach when an enemy is bunkered in.
Area 3: Room to Breathe
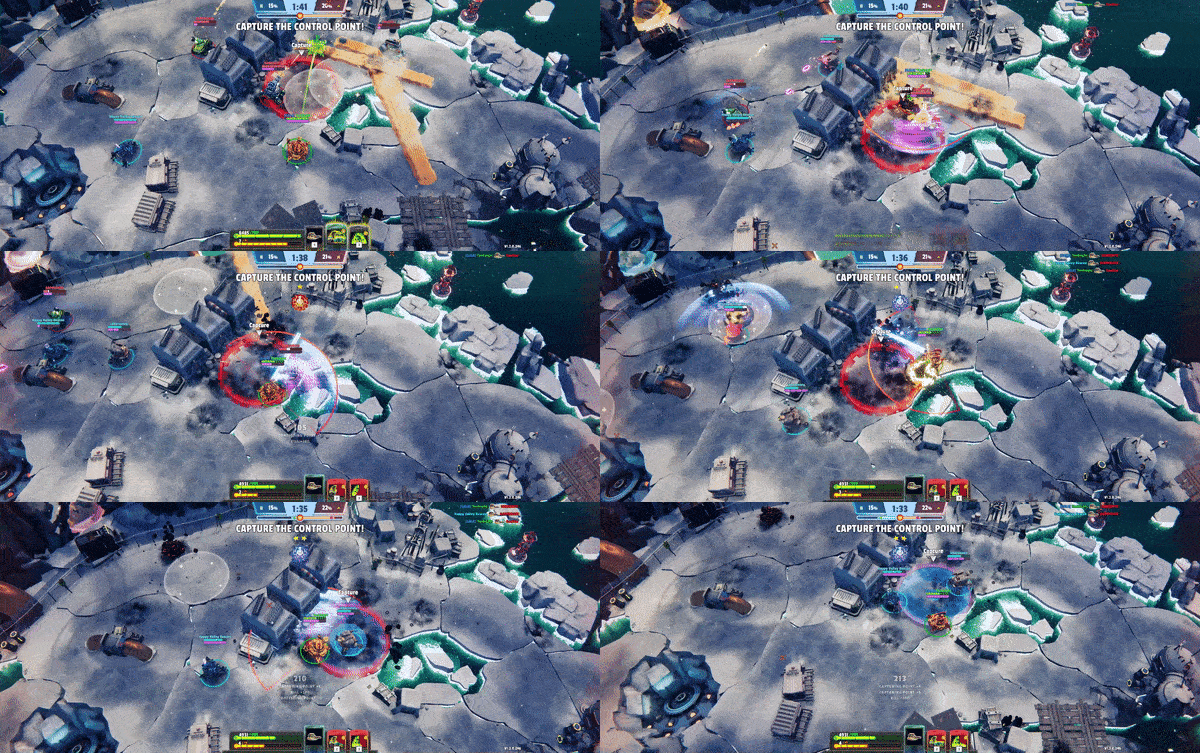
The north side’s obstruction is slightly below the very top corner and has a non-cover obstruction and a cover obstruction on either side. This provides good relative cover, but still leaves at least 180° of visibility for enemies to approach. This is where the Control Point will be in King of the Hill.

Up here you have room to maneuver. If you are good on the dodge, this can be a defensible position.
Area 4: The Killbox
The corner to the west offers the least relative protection, with a non-cover obstruction boxing it in that can be easily shot through. High range or fast fire teams may do well seeking shelter here, but you should usually consider it a last resort… where you go to die.
Area 5: Bob and Weave
The southern obstruction is more spread out and offers a serpentine to adjust cover. While it is easy to find cover in this corner, it is not usually easy to bunker down here. There are too many possible ways that an enemy may approach, but it can be great temporary shelter to regroup and heal up… or trap the enemy in a close quarters skirmish.
Frozen Research Best Practices
Beware the Cold Wind
The central no-man’s land of Frozen Research is very treacherous to be caught unaware in.
With nearly nothing to stop long-range projectiles, this is the kind of environment built for the Crossbow, Railgun or Blade Spinner to stalk their prey. Keep moving while in the open on this Map.
Stay Mobile
Try not to get bunkered in too long in any of the corners.
With no actual bottlenecks anywhere in the Map, opponents can always move at you from at least two directions. If you’re putting up a good fight, they’ll have to spend some time positioning to take you from one side.
Move to their weak side when the time is right and use the circular path of the Map to your advantage as you move to the next cover.
Be Cautious in CTF
On Capture the Flag, there is nothing between you and the enemy when the match starts other than the flag.
All hell is about to break loose when the match starts. Go slow, be careful, be the one standing to scoop up the flag.
Don’t Trust Shoddy Cover
Much of the cover in the middle of the map is lying to you. They block your Tank, but projectiles will whizz right over them.
The crates on the southwest side are commonly mistaken for proper cover by Pilots. A smart gunner will hit you when you think you’re safe. If you need cover, hide behind the defunct snowbulance just past the crates, but be careful — flames can come through it.
Expect Chicken-Related Trouble
The barrels in Chicken Chaser are right across from each other on Frozen Research.
Controlling barrels to keep delivering is even more essential on this Map, but is unlikely to ever be 100% successful due to their proximity. Bulky Tanks like Titan or the faster moving Nomad can easily slap you high damage, close up Weapons to destabilize control over both barrels.
If you’re across from artillery, Shotguns or Flamethrowers… you may want to prepare for a rough match.
Stay Chill
Frozen Research can be overwhelmingly chaotic at first for Pilots due to the central vortex of death and the limited cover on the exterior of the Map. Once you understand the arena, however, it’s easy to use these features to aid in your eventual victory.
That’ll be all for us this week, but we’ll return next week with an up close and personal look at the Shotgun Weapon.
Let us know your favorite ways to play Shotgun @SpiderTanks for a chance to be featured in the next edition!


