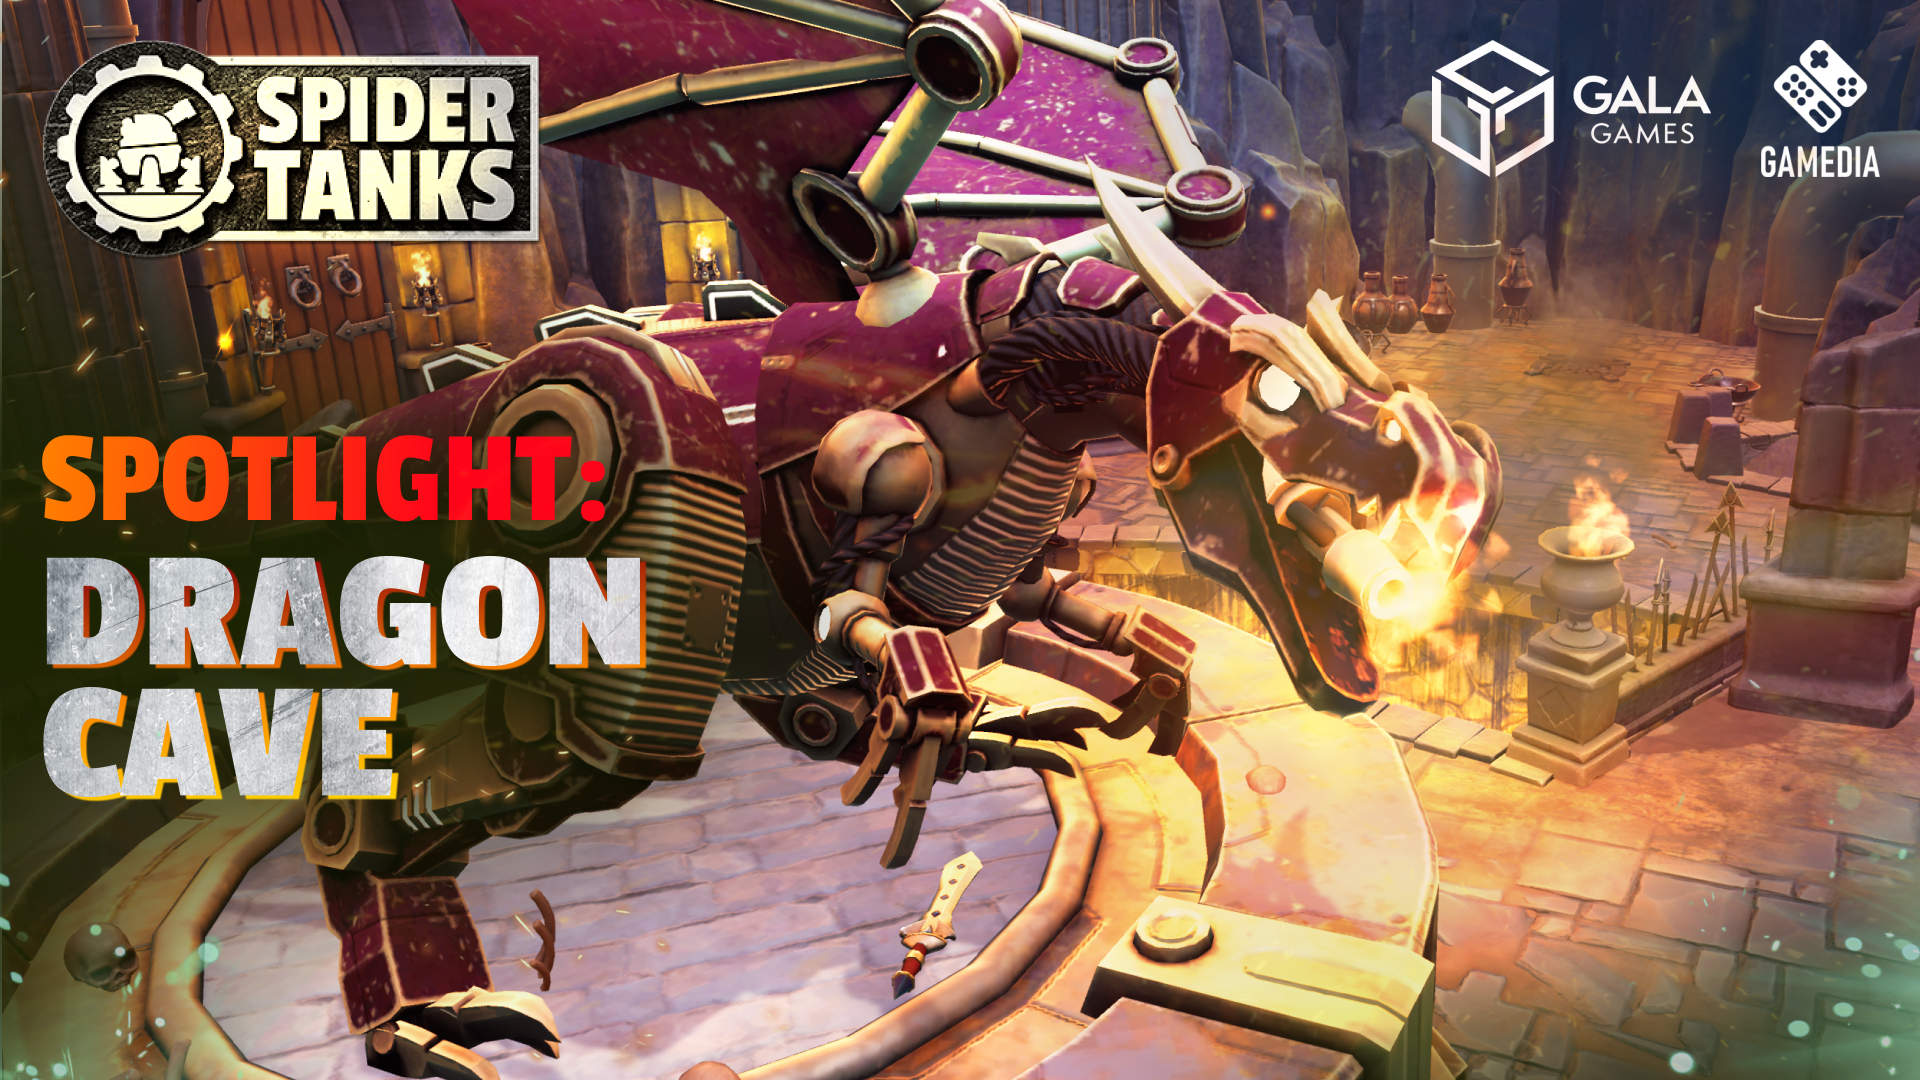
When the people of Rewban the Aggressor first colonized the planet of Cacus, they were prepared to forge a new life from the inhospitable terrain of the molten world. As they began excavations, however, it became clear that they weren’t the first to have this idea.
Large ruins were discovered all over the planet, and the new Cusans were more than happy to utilize this treasure trove. Little is known about the lost race that previously inhabited these vast caverns, but the Cusans of today are more than happy to pluck the precious gems from these deep places to trade with the rest of The Planetary Union.
Of course, the Tank Olympiad has found a home in these caverns as well. The heat of Cacus is the perfect venue for Spider Tanks mayhem!
Know Your Battlefield
Dragon Cave is incredibly symmetrical compared to most arenas. While this offers a definite advantage to keeping up your strategy while you’re on the move, it also presents issues for team coordination. A split decision between two Tank Pilots could lead to easy pincer attacks from your enemies.
There are four repair kits at regular intervals around the perimeter of the central ring of Dragon Cave. There are four distinct types of area, each repeated four times in a circle.
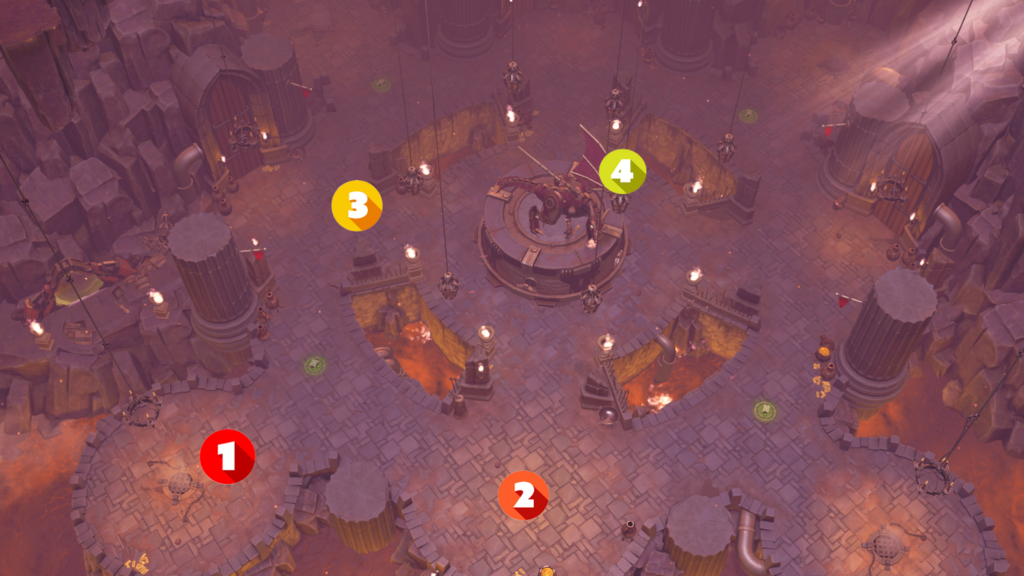
Area 1: Satellites
These four circles on the very exterior of Dragon Cave are useful as a sort of redoubt when in trouble or regrouping, but they can also be a cruel trap.
Each of these has three angles of attack clearly pointed at them. Attackers will come at you around the corners or shoot with a longer range weapon across the pit. If you’re playing a shorter range weapon, don’t use these!
These areas are, however, absolutely critical in Chicken Chaser. Make it a point to check the far edges of these circles regularly, as birds will commonly be stranded over here and overlooked by other players!
Area 2: Roundabout Pullovers
These four circles are in between and just inside of area 1’s circles. These are even more congested and wide open than area 1, but they are absolutely critical to maneuvering through the arena.
User these but avoid lingering in the middle of them. When standing in the center of these circles, you can potentially be hit from four different angles. Approaching the edges of these circles necessarily obscures attack from multiple angles due to the pillars on the four corners of these circles.
Consider these transitional places when possible. Stage attacks from here and pull chasing enemies through them, leaving them guessing which exit you’ll take.
Area 3: The Chasm Gap
The small strips between each lava chasm are absolutely critical for dominance of the arena. Each of these is protected by a narrow fence on either side of the chasm, providing a decent amount of cover despite being in the middle of all the action.
Depending on the match, these can either become hotly contested or major defensive bulwarks… and which could shift quickly according to the flow of battle.
Since these areas almost always play a role in how the match plays out, it’s fitting that the Command Point in King of the Hill will spawn on the north most of these areas.
Area 4: The Inner Circle
The inner circle is in theory the most exposed area in the map, but it enjoys incredible cover from the ancient dragon statue towering overhead.
Hugging these walls can leave you covered against half the map, and you can quickly race around the small circle to reposition yourself better than another tank can from any other part of the arena.
Poultry Pusher often becomes the most violent as the payload processes on either side of this area. Even in other game modes though, this will be one of the best angles of attack. With only a few seconds of movement from anywhere in this ring, you can get in position to threaten anywhere in the map.
Dragon Cave Best Practices
Cover Isn’t Always Reliable
Those big, sturdy pillars on the outside corner of the south and west area 2s may seem nice and cozy… but they can be easily shot around from the adjacent area 1s with tiny adjustments to positioning.
Even on the interior, the cover you find in the shadow of the dragon can be easily compromised if an enemy moves perpendicularly away from you instead of straight towards you. A clever bunch of opponents can make those angles close in on you when most of your cover is part of a greater circle.
Enemies Approach Quickly
Thanks to the many ways to wind across the relatively small battlefield, you can get anywhere in Dragon Cave relatively quickly, even with a pretty slow tank.
This means that enemies can come from out of view to on top of you fast, and that 8-second respawn timer may be all the delay you get before an enemy is back in the fight.
Mind the Enemy’s Weapons
The weapons that you are up against make a huge difference in any match, but even more so in Dragon Cave.
Here, you’re working with very narrow cover anywhere but the very center of the map. Artillery will follow you anywhere here, and melee weapons will have very little ground to cover before they’re tearing you to pieces.
Glorious Battle
Dragon Cave’s layout is fairly simple, but underneath that lies an incredibly complex nuance to positioning if you really want to excel in this arena.
That’s all we’ve got for this week, next week though we’re powering up for some almighty BOOMs as we dive into everything about the Railgun!
Stay safe out there pilots… see you in the arena!

