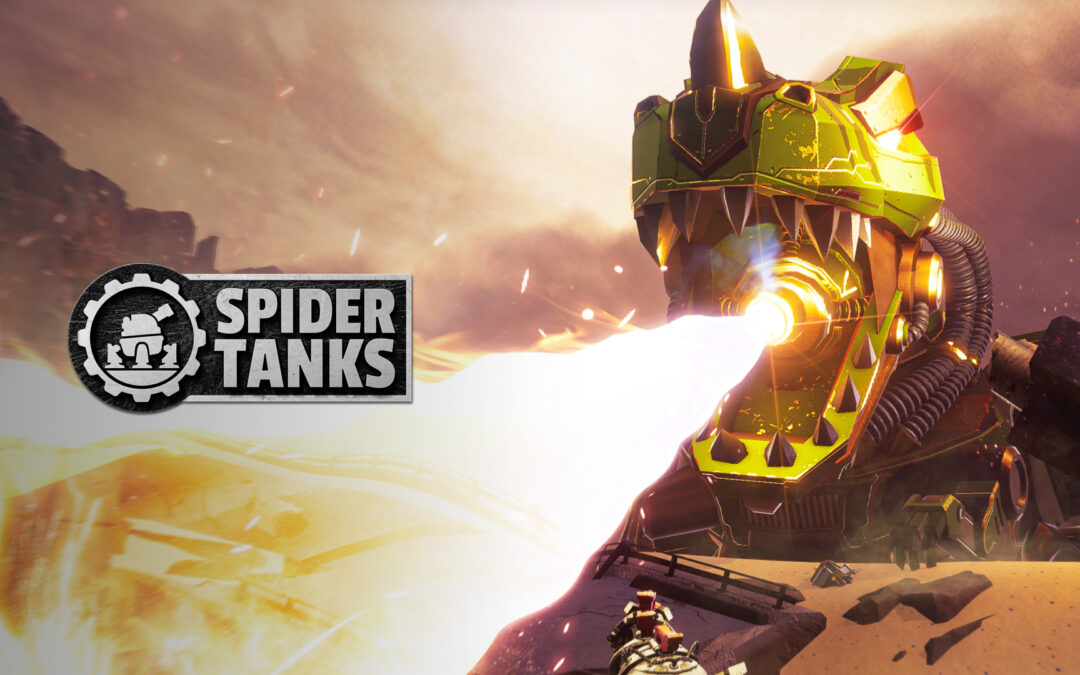
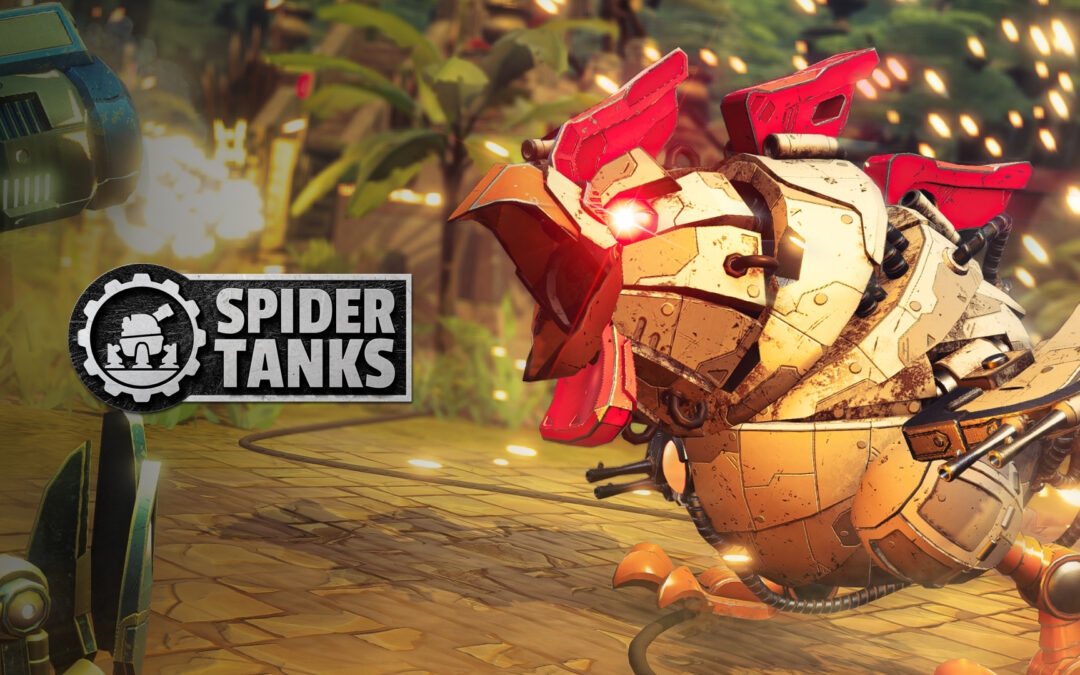
Welcome back to the Spider Tank Showcase! This week we’ll be taking a pretty sharp turn away from the pew pew of Crosssbow from last edition. This week we’re blasting through one of the bigger hunks of metal in the arena – The Maul!
Maul is a heavy Body, though it’s lighter than the biggest boys out there like Titan, Plate or Tracks. This large bulk provides you with an incredibly healthy amount of durability and Energy, but doesn’t slow your movement to a crawl like the biggest Bodies out there do.
The Warrior
Alright, we wanted to start off with originality… but we just can’t pass up the chance to revisit The Warrior build. Maul was, after all, originally released with the Bouncer. It’s a very classic combo.
The Maul’s bulk allows you to line up your shots a little better to get the best bouncy goodness. Since each ricochet with a Bouncer deals more damage than the last, shots that chain are the paydirt on this one.
Maul gives you the maneuverability to make sure you can exploit weaknesses you spot while holding a Bouncer. It’s bulk lets you focus solely on getting your shot off, as you can easily shrug off a hit or two.
The Sentinel
This one is similar in theory to The Warrior, but utilizes the Sniper Rifle to get the most out of Maul’s toughness. Sniper Rifle is deadly from a distance, but lining up the right shot can occasionally leave you exposed.
With a Sniper Rifle, a heavy Body like Maul can easily occupy a choke point in the battle. Control access to part of the map, and you open up your allies to do all sorts of fun shenanigans. The point isn’t so much to not get hit… more to make them pay for wanting to hit you.
In the above clip, the Sniper Rifle has occupied a crucial junction just in front of the teleport. From here, its teammates are able to exercise control over the repair kit above and freely move around the map and only leave one quad where the enemy is safe.
The range on a Sniper Rifle is long enough, that no one can threaten the Maul for long. Even if they can, they have to be in the open to do so… and it only takes two or three clean shots to bring them down.
The Berserker
This last combo isn’t for every Pilot. For The Berserker build, we’ll use Maul alongside Carver. The bulk of Maul allows for you to shrug off the first few hits before your blade finds home, and the high Energy lets you play flexibly with Abilities like Relay Drone and Speed Boost.
You’re going to blow up a few times on this build… more than a few, in fact, while you learn to use it. Patience is the key. When you see your opening, zig and zag as you’re able to. Remember though, the zig towards your enemy. If you get hit a few times, that’s ok. Just kill them before they kill you.
Maul is just heavy enough to ignore full frontal damage for a second or two. That’s often what you need to pin in the enemy with your sword. Keep them running from you. You want to be patient and wait for the right opening, but if you play scared you will lose. You’re a gigantic tank with a sword on top of it… they should be scared of you!
That’s Maul, Folks!
That’ll do it for our 25th edition of The Spider Tanks Showcase! Did we miss your favorite build with Maul? Did we choose one that you think is amateur hour? Let us know on Discord!
Next week we’re giving the Tank combos a rest for a bit, as we’ll dive into Stealth Abilities in the arena. Are you super sneaky? Have some good clips of your deceptive dominance? Let us know on Discord or social media for a shot to be featured in the next Spider Tank Showcase!


